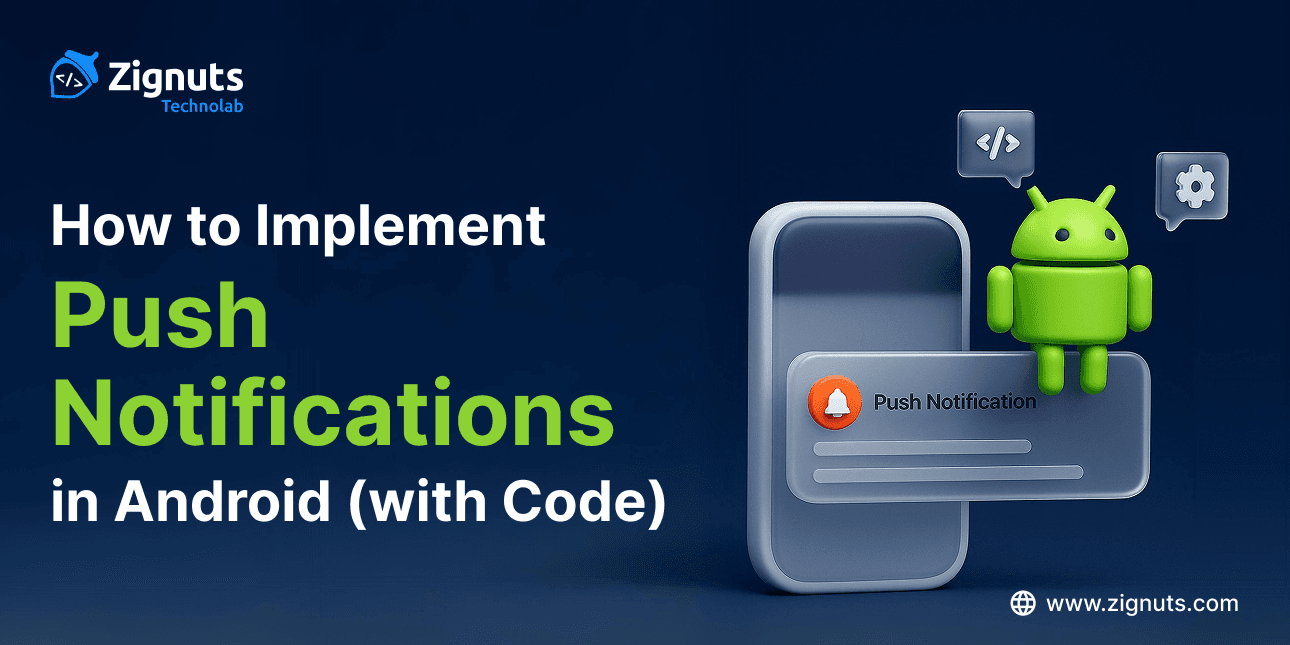
Push notifications are a powerful tool for engaging users and delivering real-time updates in Android apps. In this blog, we’ll walk you through how to set up and implement push notifications using Firebase Cloud Messaging (FCM), updated for the latest standards of 2026.
In the fast-evolving mobile landscape of 2026, the role of push notifications has shifted from simple alerts to intelligent, context-aware touchpoints. With the release of Android 16, Google has introduced sophisticated features like the Notification Organizer and AI-powered Notification Summaries, which automatically group and silence low-priority content. This means that to stay visible, your app’s notifications must provide immediate, high-value utility. Modern implementation is no longer just about delivery; it’s about navigating an ecosystem that prioritizes user focus through "Predictive Engagement" and "Material 3 Expressive" design language.
Implementing Push Notifications in Android today also requires a deep understanding of the semi-annual platform model. As AI models now analyze over 50 variables, including device battery, time of day, and past interaction history to determine the optimal "receptive window" for a nudge, developers must build flexible messaging services that support rich media and deep-linking by default. Whether you are building for the latest Pixel or foldable devices, following this updated guide will ensure your messages bypass the system’s "noise filters" and land exactly when they are most helpful to the user.
Importance of Push Notifications & Their Impact on User Experience
In the current mobile landscape of 2026, push notifications have evolved from simple alerts into sophisticated, AI-driven touchpoints. They are no longer just about sending messages but about creating a seamless bridge between the user and the app's value proposition. As Android 16 moves toward an "agentic" UI, notifications serve as the primary layer of interaction, often providing value before a user even unlocks their device.
Real-Time Communication:
Instantly keeping users in the loop is vital. Whether it’s a breaking news alert, a security notification, or a social interaction, these updates ensure your audience stays connected without having to manually check for changes. In 2026, this extends to Live Activities on the lock screen, providing second-by-second updates for transit, food delivery, or sports.
Improved User Engagement:
With the 2026 focus on "predictive engagement," timely notifications act as a gentle nudge. By reaching users when they are most active on their devices, calculated by on-device machine learning, you significantly increase the likelihood of meaningful interaction. Apps using these "best-time-to-send" algorithms see up to a 50% higher open rate than those using static scheduling.
Personalisation:
Modern notifications leverage on-device intelligence to tailor content. Moving beyond just using a name, today's notifications adapt to the user's current context, making every ping feel relevant and helpful rather than intrusive. AI-driven copy generation now ensures the tone of the message matches the user's recent sentiment and app usage patterns.
Boosts Conversions:
Strategically timed alerts for abandoned carts or limited-time offers remain the most effective way to drive revenue. In 2026, deep-linking ensures that a single tap takes the user exactly where they need to be to complete a purchase. Advanced interactive CTAs even allow users to "Buy Now" or "Confirm Order" directly from the notification shade without opening the app.
Better User Retention:
Retention is the ultimate goal. A thoughtful notification strategy keeps your app "top of mind" and provides consistent value, which is the best defense against the rising trend of app uninstalls. Data shows that users who receive relevant, non-spammy notifications are 3x more likely to remain active after the first 90 days.
Operational Efficiency:
Notifications streamline user tasks by providing status updates on deliveries, payments, or appointments. This transparency builds trust and reduces the need for users to reach out to support. With the 2026 integration of AI Summaries, Android now automatically highlights the most critical "Actionable" part of your message, making operational alerts even more effective.
Reduced Cognitive Load:
By utilizing Notification Channels, you empower users to filter what they see. In 2026, this granular control means users only receive the "signals" they care about, while "noise" is relegated to a silent digest. This respect for user attention prevents "notification fatigue" and maintains a high-quality brand perception.
Emotional Connection:
Beyond utility, notifications in 2026 are used to acknowledge user milestones and achievements. Celebrating a 30-day fitness streak or a completed learning module triggers positive reinforcement, turning a simple utility app into a companion that supports the user’s personal goals.
Hire Android App Developers Today!

Step 1: Set Up Firebase Cloud Messaging (FCM)
Establishing a robust connection between your application and the Google infrastructure is the foundational move for Push Notifications in Android. In 2026, Firebase has streamlined this process to be more "plug-and-play," utilizing enhanced security protocols that ensure your messaging pipeline is both lightning-fast and encrypted from end to end.
1. Create a Firebase Project
The journey begins at the Firebase Console. When you create a new project, you are essentially setting up a dedicated cloud environment for your app’s backend services.
- Registering the App: You will need your Android package name (e.g., com.yourcompany.appname).
- App Nicknames: In 2026, it is highly recommended to use distinct nicknames for your Debug, Staging, and Production environments to prevent sending test notifications to real users.
- SHA-1 Certificates: While optional for basic messaging, providing your SHA-1 debug certificate at this stage is a best practice if you plan to integrate Firebase Authentication or Dynamic Links later.
2. Add Firebase SDK
Modern Android development relies on the Firebase Bill of Materials (BoM). This clever tool acts as a version orchestrator, automatically selecting compatible versions for all Firebase libraries so you don't have to worry about dependency conflicts or "version hell." As of 2026, the BoM version 34.9.0 is the gold standard for stability.
In your project-level build.gradle file:
3. Add google-services.json
The google-services.json file is your app’s identity card. It contains unique identifiers, API keys, and project IDs that the Google Services plugin uses to route notifications to the correct device.
- Placement: Download this file from the Firebase Project Settings and move it into the /app folder of your Android Studio project.
- Security Tip: Never share this file publicly or commit it to open-source repositories without proper environment variable masking, as it contains sensitive project metadata.
- Verification: Once added, Android Studio will recognize the configuration, allowing the Firebase Messaging library to automatically initialize itself when the app starts.
Step 2: Configure Permissions and Notification Channels
In the modern Android ecosystem of 2026, the operating system places user privacy and focus at the forefront. Setting up Push Notifications in Android now requires a two-fold approach: declaring technical capabilities in the manifest and respecting the user's right to silence through structured channels.
AndroidManifest.xml
With the rollout of Android 16, the system has tightened its grip on background processes. Your manifest must explicitly state its intention to communicate with the cloud and post visual alerts to the user's shade. Failing to include these declarations will result in the OS silently blocking your Firebase services.
The POST_NOTIFICATIONS permission is particularly critical; since Android 13 and continuing through 2026, this is a "dangerous" permission, meaning it requires a runtime prompt in addition to this manifest entry.
By setting android:exported="false", you ensure that only the Google Play Services on the device can trigger your messaging service, preventing malicious third-party apps from injecting fake data into your notification pipeline.
Notification Channel (Android 8+)
Channels are the modern way to categorize alerts. In 2026, users expect granular control; they might want to receive "Order Updates" with a sound, but keep "Promotional Offers" silent. If you attempt to post a notification without a valid channel ID on any device running Android 8.0 or higher, the notification will be discarded by the system.
This logic serves as the "handshake" between your app and the System UI. It defines the initial importance, sound, and vibration patterns for your messages.
Pro Tip for 2026: Always call this inside your Application.onCreate() method. This ensures that even if the app is cold-started by a background message, the channel is already registered with the OS before the notification is built. Additionally, consider creating multiple channels (e.g., news_channel, social_channel) to provide the best user experience and avoid being muted entirely by a frustrated user.
Step 3: Receive and Handle Messages
In the 2026 development workflow, handling incoming data is no longer just about displaying text. It is about processing intelligence. This step involves creating a background service that listens for signals from the cloud even when your app is not running in the foreground. This service is the gateway for Push Notifications in Android, acting as the bridge between raw data packets and the user's visual interface.
Create a Firebase Messaging Service
The service class is the heart of your notification logic, handling incoming payloads and token refreshes. In modern Android architecture, this class must be highly efficient to comply with strict system battery-optimization rules. By extending FirebaseMessagingService, you tap into a specialized lifecycle managed by the OS that wakes up your app specifically to process an incoming message.
Understanding the Core Functions:
- Token Management: The onNewToken method is triggered whenever the system generates a new unique identifier for the device. In 2026, tokens are refreshed more frequently for security. It is critical to send this token to your backend server immediately; otherwise, you will lose the ability to target this specific user.
- Payload Processing: The onMessageReceived method is the entry point for all incoming data. Here, you can distinguish between "notification" messages (handled by the system when the app is in the background) and "data" messages (which give you 100% control over the logic).
- Building the UI: The showNotification helper function uses the NotificationCompat.Builder to ensure backward compatibility while supporting modern features like high-priority heads-up alerts and custom icons.
Key Considerations for 2026:
- PendingIntent Flags: Notice the use of FLAG_IMMUTABLE. This is a strict security requirement in newer Android versions to prevent external apps from modifying the intent's behavior.
- Auto-Cancel: Setting setAutoCancel(true) ensures that the notification disappears once the user taps it, maintaining a clean and organized notification shade, a core principle of the 2026 user experience.
- Small Icon Requirements: Ensure your ic_notification is a transparent white-on-alpha icon. Colorful icons will be rendered as solid blocks by the system to maintain visual consistency across the Material 3 dashboard.
Step 4: Send Push Notifications
Sending a notification is the moment your hard work pays off. In 2026, the process has become more secure and platform-agnostic. Whether you are a developer testing a single device or a backend engineer automating millions of alerts, the Push Notifications in the Android ecosystem offer two primary pathways for delivery.
Option 1: From Firebase Console
The simplest way to test is the Notifications Composer. Navigate to Cloud Messaging in the console and send a test blast to your registered app. This is an ideal tool for marketing teams and for initial developer testing because it requires zero backend code.
- Targeting: You can target specific user segments based on app version, language, or even predicted churn risk, a feature that has become highly refined in the 2026 console update.
- Scheduling: The console allows you to send messages immediately or schedule them for the user's local time zone, ensuring your "Good Morning" message actually arrives in the morning.
- Rich Media: You can now easily attach high-resolution images or action buttons directly from the composer UI to see how they render on different device previews.
Option 2: From Server (Using FCM HTTP v1 API)
By 2026, the legacy API will be fully retired. You must use the HTTP v1 API, which requires OAuth 2.0 authentication for enhanced security. This modern protocol uses a "least privilege" model, where your server uses a service account to "mint" short-lived access tokens. This prevents the old security risk of having a permanent, hard-coded server key.
The HTTP v1 structure is also more "platform-explicit," allowing you to define specific behaviors for Android (like high-priority delivery) separately from other platforms within the same JSON payload.
Implementation Details for 2026:
- Access Tokens: You no longer use a "Server Key." Instead, you must generate an OAuth 2.0 token using a Google Service Account JSON file.
- Project ID: Your Firebase Project ID is now a part of the endpoint URL itself, making the routing more explicit and secure.
- Scalability: The v1 API is designed for high throughput. In 2026, it supports advanced "batching" features that allow you to send unique messages to thousands of tokens in a single HTTP persistent connection.
Step 5: Test and Debug
In the high-stakes environment of 2026, a "send and pray" approach no longer works. To ensure your implementation of Push Notifications in Android is flawless, you must utilize a suite of real-time diagnostic tools. With Android 16’s aggressive notification filtering, debugging is as much about verifying "delivery" as it is about verifying "visibility."
Monitor Real-Time Delivery with ADB
The Android Debug Bridge (ADB) remains the most reliable way to peek under the hood of the OS. By filtering logs specifically for the Firebase Cloud Messaging tags, you can see exactly when a data packet hits the device and if the system decides to suppress it due to battery or focus settings.
Run the following command in your terminal:adb logcat | grep FCM
- What to look for: Look for onMessageReceived triggers. If you see the message in logs but no notification appears, your Notification Channel ID likely has a mismatch, or the user has disabled that specific channel.
Validate with Firebase DebugView
For a more visual and "event-driven" debugging experience, use the Firebase DebugView. This tool allows you to see the raw event data logged by your app on development devices in near real-time, bypassing the usual one-hour batching delay of standard analytics.
To enable Debug Mode on your device, execute:adb shell setprop debug.firebase.analytics.app YOUR_PACKAGE_NAME
Once enabled, navigate to Analytics > DebugView in the Firebase Console. You can now track:
- Token Generation: Confirm that onNewToken is firing and sending the correct string to your backend.
- Notification Engagement: See exactly when a user clicks a notification and which activity it opens.
- User Properties: Verify if your targeting segments (like premium_user or last_login_date) are updating correctly, so your future push campaigns hit the right audience.
Android 16 Compatibility Testing
As we move through 2026, you must test against the latest Notification Runtime Permission prompts. In Android 16, the system may automatically revoke notification permissions if the app hasn't been used for an extended period.
- Test the Prompt: Uninstall and reinstall your app to ensure the permission dialog appears at a contextually relevant moment (e.g., after a user completes a task) rather than immediately on the first launch.
- Focus Modes: Test your notifications while the device is in "Focus Mode" or "Priority Only." In 2026, only messages sent with high-importance channels and appropriate metadata will break through these filters.
Use the FCM Toolbox
For quick iterative testing without writing server-side code, use the FCM Toolbox or the built-in Notifications Composer. These tools let you send "Data Payloads" to specific FCM tokens instantly, allowing you to test how your MyFirebaseMessagingService handles custom key-value pairs without waiting for a full backend deployment.
Hire Android App Developers Today!
Best Practices
In 2026, building a successful strategy for Push Notifications in Android is less about "shouting" for attention and more about earning the right to interrupt. With Android 16's aggressive AI-driven Notification Organizer and background restrictions, these best practices are essential for ensuring your messages aren't filtered out as noise.
Respect the "Soft Ask":
Don't request notification permissions immediately on the first launch. Explain the value first, then trigger the system dialog. In 2026, users are highly protective of their focus modes. Implement a "pre-permission" UI or an in-app "Educational Splash" that shows exactly what benefits (like real-time delivery tracking or flash sales) the user will get. Only trigger the official POST_NOTIFICATIONS dialog once the user has performed an action that implies they want updates.
Prioritize Notification Channels:
Properly categorize your alerts so users can opt out of marketing while keeping transactional alerts active. By 2026, Android's Notification Organizer automatically groups alerts into "Promotions," "Social," and "News" tabs. If you don't use distinct channels, the OS might demote your critical transactional updates along with your marketing blasts. Stick to 3–5 high-level channels with clear, descriptive names.
Secure Token Management:
Always update your backend with the latest FCM token to avoid delivery failures to stale IDs. FCM tokens in 2026 are refreshed more frequently for privacy reasons (e.g., when an app is restored on a new device or cleared of data). Implement a timestamping mechanism on your server; if a token hasn't been verified or refreshed within 30 days, consider it stale and rotate it to keep your delivery rates high.
Use Data-Only Payloads:
For maximum control over the notification UI and behavior, send data-only messages and build the notification locally in the service. This allows your app to decide whether to show a heads-up alert, update a Live Activity, or even modify the notification content based on the user's current in-app context. It also prevents the system from taking over the notification display when your app is in the background.
Leverage High Priority Wisely:
Use high priority only for truly time-sensitive events like incoming calls or security alerts. In 2026, Android's Message Deprioritization logic will penalize apps that abuse high priority for marketing. If the system detects that "high priority" messages are frequently dismissed without interaction, it will automatically throttle your app’s future delivery speed.
Optimize for "Notification Summaries":
Android 16 uses on-device AI to summarize a stack of notifications. To ensure your message is the one featured in the summary, keep your ContentTitle and ContentText concise (ideally under 50 characters for the title) and use "Rich Media" like small images or progress bars to signal that the content is dynamic.
Implement "Live Updates":
For 2026, standard notifications are being replaced by Live Updates for ongoing activities (e.g., a taxi arriving or a workout in progress). These remain pinned to the top of the shade and update in real-time. Using NotificationCompat.Builder#setRequestPromotedOngoing ensures your app stays in the user's primary view throughout the duration of the event.
Conclusion
Implementing Push Notifications in Android has evolved into a sophisticated balance of technical precision and user-centric design. By leveraging the latest FCM HTTP v1 API, adhering to Android 16’s rigorous notification standards, and utilizing AI-driven engagement strategies, you can transform a simple alert into a meaningful user touchpoint. Mastering these tools ensures your app remains at the forefront of the modern mobile experience, driving both retention and conversion.
If you are looking to scale your application with cutting-edge messaging features or need expert assistance in navigating the complexities of Android 16, it is time to Hire Android Developers who specialize in the latest Google ecosystem. Our team is equipped to help you build seamless, high-performance notification systems tailored to your business goals.
Ready to elevate your app's engagement? Contact Zignuts today to discuss your project and turn your vision into a high-impact reality. We are here to help you lead the way in mobile innovation.

Sameer Ashra
Developer focused on creating user-friendly applications and improving system performance. Committed to continuous learning and helping others through technical writing.

Deep Panchal
Passionate developer with expertise in building scalable web applications and solving complex problems. Loves exploring new technologies and sharing coding insights.