Running a modern website involves much more than just creating visually appealing designs or writing clean code. As your business grows, so does the complexity of managing repetitive tasks like capturing leads, updating databases, syncing data across multiple platforms, sending notifications, and keeping your team aligned. These tasks, while essential, can consume valuable time and resources that could be better spent on strategic growth initiatives. This is where automation becomes a game-changer.
If you’re using Webflow, you’re already leveraging a powerful no-code platform that allows you to build professional, dynamic websites without touching a single line of code. But what if you could take it a step further and automate the repetitive, time-consuming tasks that come with managing a website? Tools like Zapier and Make.com make this possible by connecting Webflow to thousands of other apps, enabling seamless workflows that save time, reduce errors, and scale your operations effortlessly.
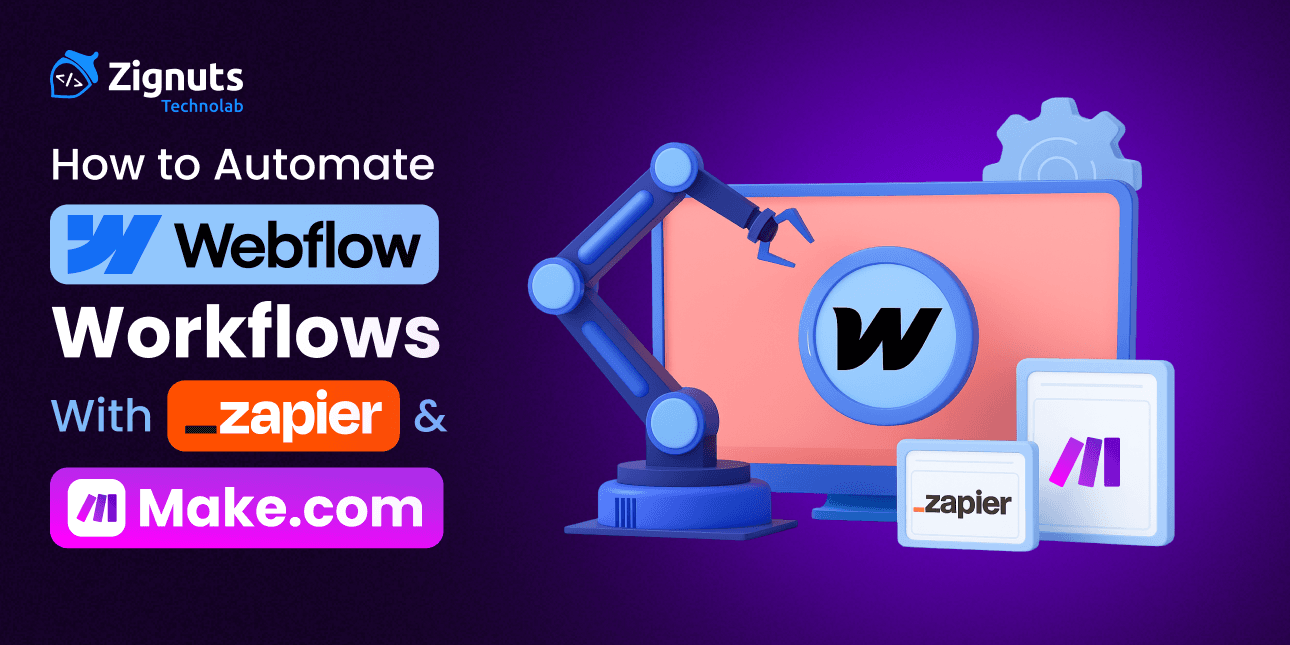
In this comprehensive guide, we’ll explore how to use Zapier and Make.com to automate your Webflow workflows. We’ll break down each platform’s strengths, provide step-by-step instructions, share advanced use cases, and offer best practices to ensure your automations run smoothly. Whether you’re a small business owner, a marketer, or a developer, this blog will help you unlock the full potential of Webflow automation to streamline your processes and focus on what matters most growing your business.
Why Should You Automate Webflow Workflows?
Before we get into the step-by-step processes, let’s explore why automation matters:
- Time-Saving: Eliminate repetitive manual tasks such as data entry, form submissions, and spreadsheet updates.
- Improved Accuracy: Automation removes the risk of human error and keeps your data clean and consistent.
- Real-Time Updates: Automatically update your CRM, databases, and marketing tools in real time.
- Scalability: Handle more traffic and leads without needing additional resources.
- Customer Experience: Deliver faster, automated responses to your users for a smoother experience.
- Team Collaboration: Automatically notify team members about key events, ensuring everyone stays informed.
By automating your Webflow processes, you can focus more on growth and strategy while the systems handle routine operations.
How to Automate Webflow Workflows with Zapier
What is Zapier?
Zapier is a popular no-code automation tool that connects Webflow to over 5,000 apps like Google Sheets, Mailchimp, HubSpot, Slack, Airtable, and many more. These automated workflows are called Zaps, which are essentially chains of actions triggered by an event.
Zapier is designed to be beginner-friendly, perfect for small to mid-sized businesses looking to automate simple or moderately complex workflows quickly.
Why Choose Zapier for Webflow Automation?
- Easy-to-use, drag-and-drop interface.
- Thousands of pre-built integrations.
- Great for marketing, sales, CRM, and task automation.
- Supports multi-step workflows (with premium plans).
- Extensive support resources and tutorials.
Popular Use Cases for Webflow + Zapier Automations
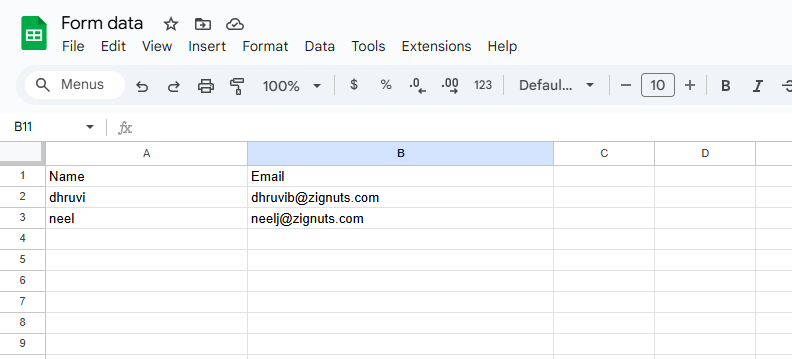
- Lead Collection: Send Webflow form submissions directly to Google Sheets.
- Email Marketing: Automatically trigger Mailchimp campaigns after new lead captures.
- Internal Notifications: Get Slack alerts when someone places an e-commerce order.
- CRM Updates: Instantly add Webflow form submissions to HubSpot or Salesforce.
- Task Management: Create Trello or Asana tasks from Webflow submissions.
- Database Syncing: Sync Webflow CMS items with external databases.
Step-by-Step Guide: Automate Webflow with Zapier
- Sign Up for Zapier
Go to Zapier.com and create a free or paid account. - Create a Zap
Click on “Create Zap” - Choose Webflow as Your Trigger App
Search for Webflow. Select a trigger event:- New Form Submission
- New CMS Item
- Ecommerce Order Created
- Connect Your Webflow Account
Use your Webflow API key to connect your site. - Set the Action App
Choose from thousands of apps:- Google Sheets
- Slack
- Airtable
- Gmail/Outlook
- HubSpot/Salesforce
- Trello/Asana
- Map the Fields
Match Webflow fields (like form name, email, phone) to the destination app’s fields. - Test the Zap
Run a test to ensure data flows correctly. - Turn Your Zap On
Once tested, turn the Zap on to activate your automation.
Pro Tips for Using Zapier
- Name Your Zaps Clearly: Helps in management.
- Use Filters: Control when workflows execute.
- Multi-Step Zaps: Chain multiple actions (available in paid plans).
- Monitor Task Usage: Avoid hitting your limits.
- Use Delays or Schedulers: Time actions for better workflow control.
- Review Zap History: Troubleshoot any failed tasks quickly.
Example: Advanced Zapier Workflow
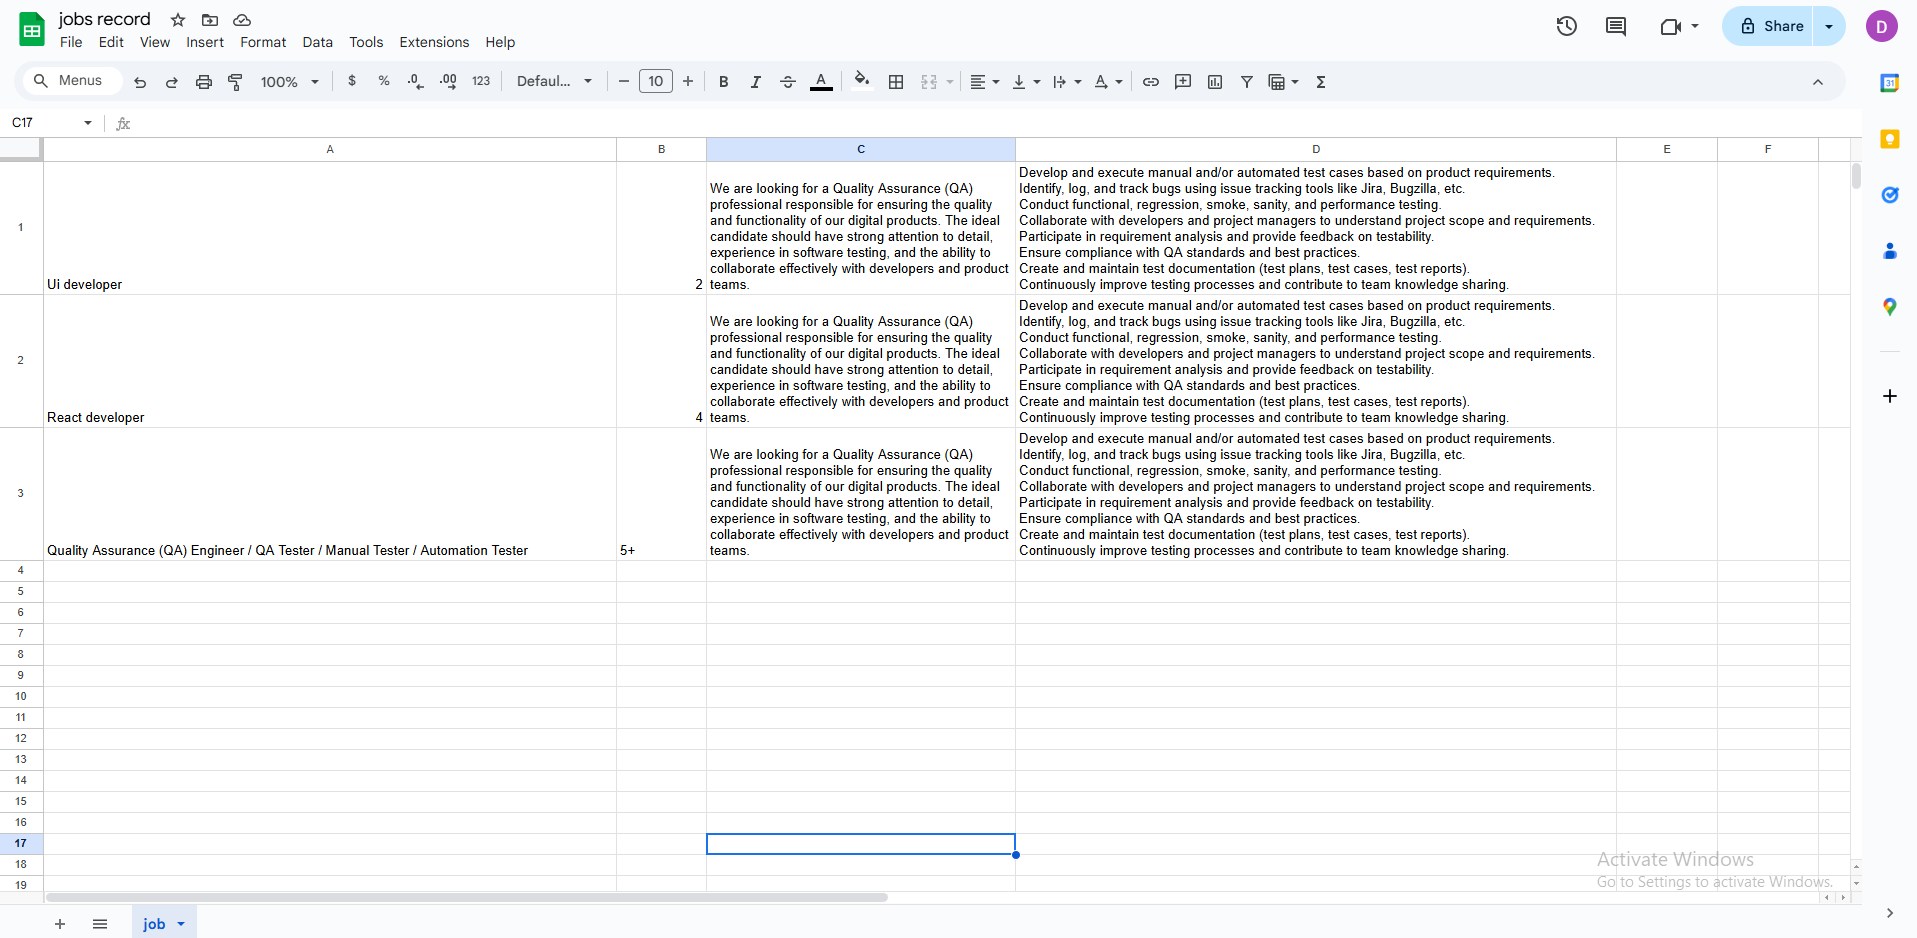
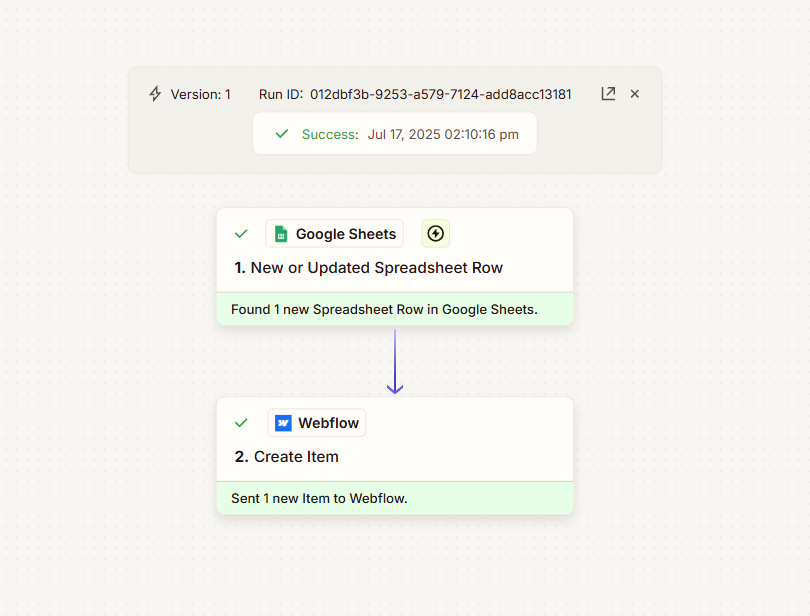

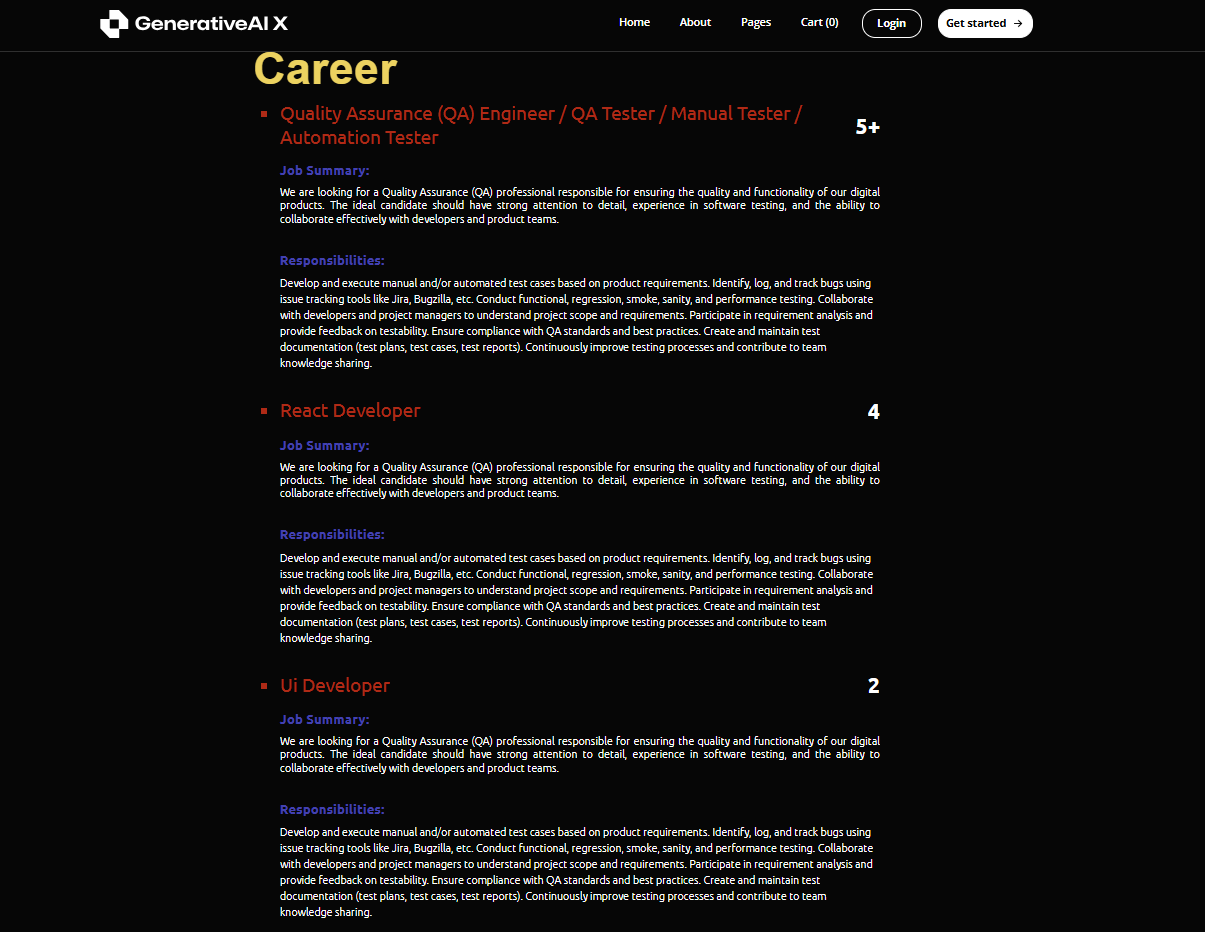
Adds the data to Google Sheets → Zapier collects the title, job summary, and experience → A new CMS for a job vacancy is published in Webflow.
Hire Webflow Developers Today!

Automating Webflow Workflows
What is Make.com?
Make.com is a visual automation platform that allows you to create complex workflows, known as scenarios, using a flowchart-style interface.
Unlike Zapier’s straightforward approach, Make.com offers more flexibility, especially for businesses needing conditional logic, data transformations, and multi-branch workflows.
Why Choose Make.com for Webflow Automation?
- Visual Builder: Drag-and-drop nodes in a flowchart format.
- Complex Workflows: Handle multi-step, multi-branch processes.
- Real-Time Automation: Leverage webhooks for instant data transfer.
- Advanced Logic: Use filters, routers, and functions to build custom automations.
- Cost-Effective: More affordable for high-volume operations compared to Zapier.
Popular Use Cases for Webflow
- Auto-publish blog posts from Airtable or Notion to Webflow CMS.
- Send Slack or Microsoft Teams alerts for form submissions.
- Sync products from an external database to Webflow ecommerce.
- Build conditional workflows that adapt based on user input.
- Handle error management and retries natively within workflows.
Step-by-Step Guide: Automate Webflow
- Sign Up for Make.com Visit Make.com and create your account.
- Create a New Scenario
Click “Create a new scenario.” - Add a Webflow Module
Search for Webflow and set a trigger:- Watch Form Submissions
- Watch Collection Items
- Watch Ecommerce Orders
- Connect Your Webflow Account
Use your API key to authenticate. - Add Additional App Modules
Choose from hundreds of supported apps like- Google Sheets
- Airtable
- Slack
- CRMs
- Notion
- Email services
- Build Your Scenario Logic
Use :- Routers: Branch workflows based on conditions.
- Filters: Add conditional steps.
- Iterators: Loop through arrays or lists.
- Functions: Format or transform data.
- Map Fields Visually
Connect the data between apps using the flowchart-style interface. - Test Your Scenario
Run test cycles to ensure data flows properly. - Schedule & Activate
Schedule your scenario to run on-demand, at specific times, or in real-time.
Pro Tips for Using Make.com
- Use Webhooks: For real-time processing.
- Monitor Logs: Easily troubleshoot failed executions.
- Use Error Handlers: Build resilience into your workflows.
- Organize Scenarios: Group related ones into folders.
- Optimize Performance: Clean, lean scenarios prevent unnecessary data processing.
- Store Data: Use Make’s data stores for temporary data storage.
Example: Advanced Make.com Workflow
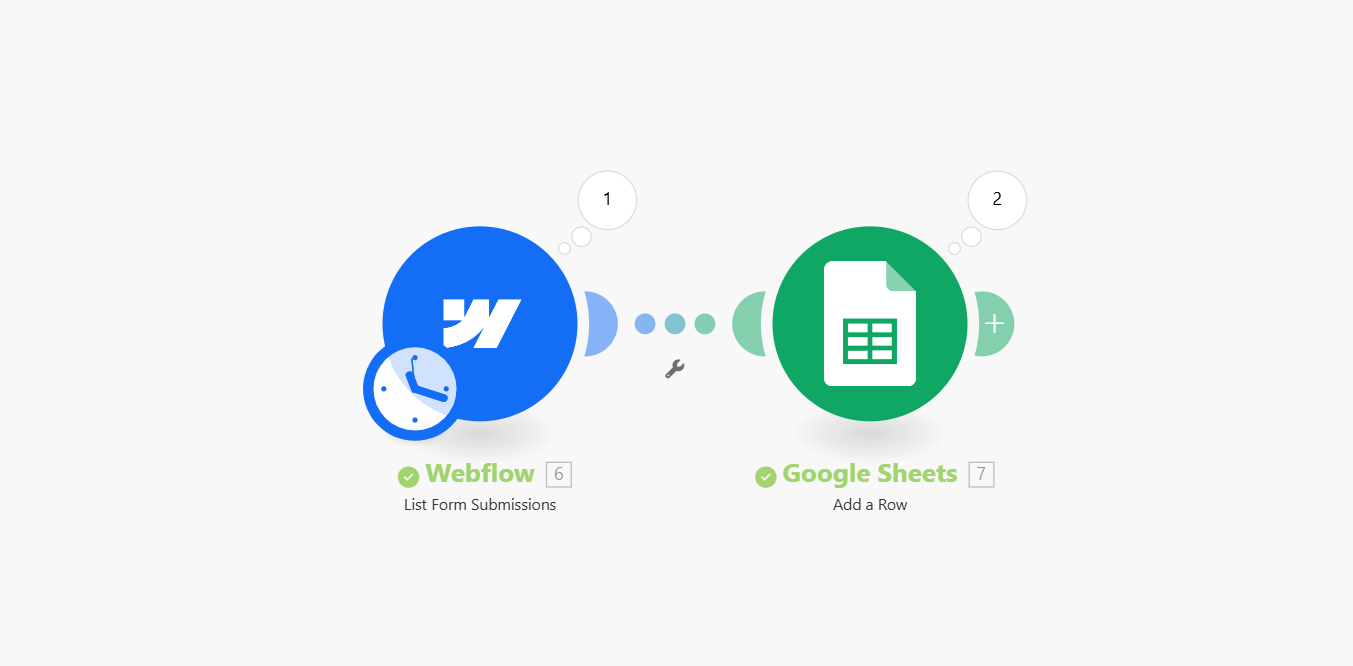
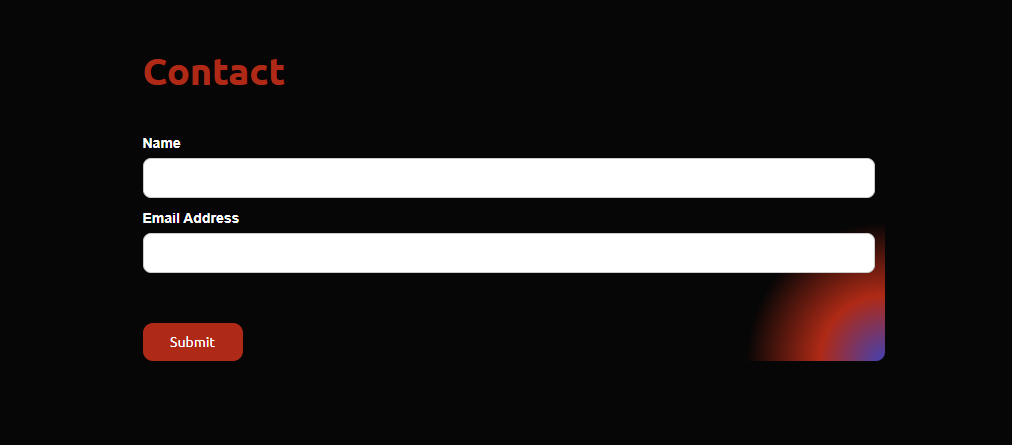
A user fills out your Webflow form → Make.com checks the input field → updates Google Sheets → Stores the data for future reporting.
Best Practices for Webflow Automation
- Secure Your API Keys: Never expose your API keys publicly.
- Use Clear Field Names: Helps in mapping form fields easily.
- Document Workflows: Ensure team members understand how automations work.
- Test Regularly: After updates to Webflow or connected apps.
- Back Up Workflows: Duplicate important Zaps or Scenarios periodically.
- Monitor Performance: Optimize workflows to avoid unnecessary steps or actions.
- Educate Your Team: Ensure team members know how to manage and troubleshoot automations.
Conclusion
Automating your Webflow workflows can transform how you run your business. Whether you’re looking for simplicity or advanced customization, both Zapier and Make.com can help:
- Choose Zapier if you prefer fast, easy, and straightforward automations.
- Choose Make.com if you need complex workflows with more control, logic, and scalability.
By integrating Webflow with either of these automation platforms, you can save valuable time, reduce manual work, and scale your website operations efficiently.
We’re official Webflow Partners. If you need any assistance with automation, design, or development, feel free to contact us today!

Dhruvi Bhavsar
A passionate UI Developer committed to designing intuitive, visually striking interfaces that turn complex ideas into effortless, engaging digital experiences.