
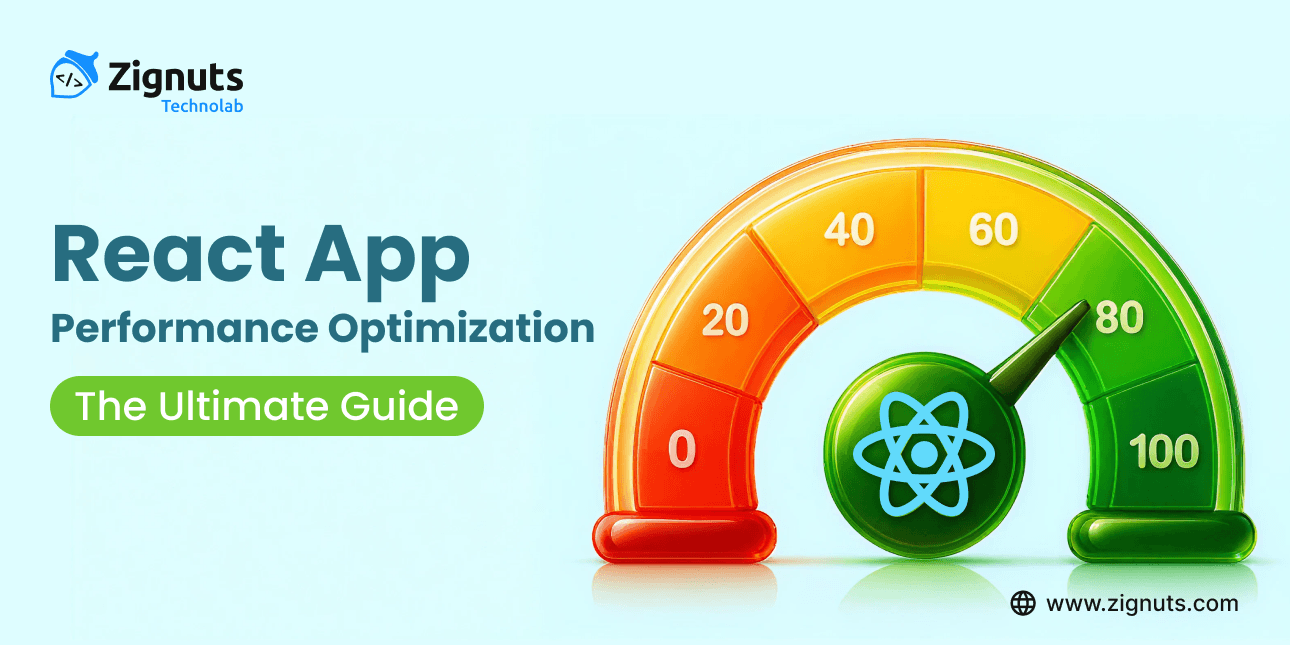
Have you ever launched your React app and noticed it's running slowly? In an era where users expect sub-second responsiveness even on low-power devices, a laggy interface isn't just a nuisance; it's a bounce rate catalyst. As your app scales, performance bottlenecks often hide in plain sight. This guide provides a roadmap to transform your application from sluggish to snappy, focusing on the latest React 19 standards and modern architectural patterns.
A significant advancement is the React Compiler, which now handles memoization automatically, eliminating the need for manual useMemo and useCallback hooks to prevent unnecessary re-renders. Furthermore, the industry has embraced React Server Components (RSC) and Streaming to solve hydration bottlenecks, allowing you to ship zero JavaScript for server-side sections and improve your Interaction to Next Paint (INP). By combining these structural efficiencies with atomic state management and windowing for large datasets, you can ensure your application remains robust, responsive, and high-performing.
Understanding Modern React App Performance Bottlenecks
Before jumping into fixes, we must diagnose the common culprits in modern web apps. As we move through 2026, the complexity of client-side logic has shifted the focus from simple load times to long-term interactivity and resource management:
Excessive Client-Side Hydration:
Sending massive JavaScript bundles for content that could be static. This creates a "dead zone" where the page looks ready but remains unresponsive while the main thread processes heavy scripts. In 2026, this is often caused by failing to utilize Server Components, forcing the browser to reconstruct the entire DOM tree and attach event listeners to elements that haven't changed since the initial build.
Unnecessary Re-renders:
A parent component update triggers a "waterfall" of child re-renders. Even with the React Compiler, inefficient state placement can bypass optimizations and force redundant DOM diffing. This often occurs when a high-frequency state (like scroll position or mouse movement) is lifted too high in the component tree, causing React to evaluate thousands of components that don't actually need to update their visual output.
Main-Thread Blocking:
Heavy computations or long-running tasks are preventing the UI from responding to user input. This is now critically measured by Interaction to Next Paint (INP), the primary metric for modern responsiveness. Common offenders include parsing massive JSON payloads on the main thread or executing complex data transformation logic during the render phase, which freezes the screen and delays visual feedback for user actions like clicks or swipes.
Context Over-subscription:
Changing one small value in a global state, like a single notification, and triggering a full-app refresh because of deep component nesting and monolithic context providers. Without proper context splitting or specialized selectors, every component consuming that context is forced to re-evaluate, even if the specific piece of data they rely on remains identical, leading to massive CPU spikes.
Layout Instability (Cumulative Layout Shift):
Injected content or slow-loading images that shift your UI after the user has already begun interacting, leading to a frustrating "jumpy" experience. In the current landscape, this is frequently triggered by dynamic ads, late-loading web fonts, or "lazy-loaded" components that don't have reserved space (aspect-ratio boxes), causing the browser to recalculate the entire page layout multiple times.
The React Compiler: Zero-Effort React App Performance
The biggest evolution in 2026 is the React Compiler. In the past, developers had to manually wrap everything in useMemo and useCallback to prevent performance degradation.
The Shift to Automatic Optimization
The compiler now automatically memoizes your components and values during the build step. It understands the dependency graph of your code and ensures that components only re-render when their underlying data actually changes.
Pro Tip: While the compiler handles much of the heavy lifting, manual memoization is now considered a specialized fallback for legacy third-party libraries.
Server Components (RSC) & Streaming for React App Performance
We have moved toward a Server-First logic. React Server Components allow you to render heavy parts of your UI on the server, sending zero JavaScript to the client for those sections.
Benefits of RSC:
- Reduced Bundle Size: Libraries used for data processing (like markdown parsers) stay on the server.
- Direct Database Access: Fetch data directly in your component without internal API calls or useEffect waterfalls.
- Streaming with Suspense: Users see the page layout immediately while data-heavy sections "stream" in as they finish loading.
React App Performance Optimization Guide: Code Splitting
You've probably heard the saying, "Big tasks are easier when you break them into smaller pieces." That's exactly how we should serve JavaScript in small chunks, not all at once.
Code splitting helps you break your app into smaller pieces that load only when needed, instead of making users download the whole app right away.
Code:-
When Should You Use Code Splitting for React App Performance?
Code splitting works best when you don't need everything all at once. In 2026, with the rise of React 19 and the React Compiler, the focus has shifted toward granular, intent-based loading. Here are the most effective situations where code splitting delivers the highest ROI:
- Routes that aren't needed right away:
Pages users won't visit immediately, like a settings dashboard, "Terms of Service," or a help section, should never bloat your main bundle.
- Features that only show up sometimes:
Components that appear based on specific user actions, such as a complex modal, a customer support chat widget, or an interactive "Special Offer" overlay.
- Large third-party libraries:
Tools like D3.js for charting, heavy rich-text editors (like Quill), or PDF generators should be dynamically imported only at the moment the user interacts with those features.
- Admin or restricted sections:
If parts of your app are only visible after a specific permission check or login, use code splitting to ensure that regular visitors don't download admin-level code they’ll never execute.
- Internationalization (i18n) Locales:
Instead of loading every language file your app supports, only fetch the specific JSON translation file for the user's detected locale. This is especially critical for global apps supporting 20+ languages.
- A/B Test Variants:
If you are running experiments, don't ship the code for both "Version A" and "Version B." Use dynamic imports to load only the specific UI variant assigned to that user.
- Heavy Form Logic:
Multi-step forms (like mortgage applications or complex tax software) can have thousands of lines of validation logic. Split each step so the browser only processes the logic for the current screen.
React. memo, useMemo, and useCallback: The Power Trio
If unnecessary re-renders were a villain, these three would be the superhero team saving the day!
React. memo
Use React. memo to stop a component from re-rendering if its props haven't changed:
Code:-
Perfect for components that don't need to update unless something specific changes.
useMemo
useMemo helps you avoid recalculating expensive values on every render:
Great for heavy calculations or derived values that don't need to change every time.
useCallback
Use useCallback to memoise functions, so they're not re-created on every render:
Especially helpful when passing callbacks to child components that rely on reference equality.
Pro tip: Don't overuse these tools. If your app isn't having performance issues, wrapping everything in memoization can actually make things harder to manage, like putting a racing spoiler on a grocery cart: unnecessary and a little awkward.
Hire React.js Developers Today!

Virtual DOM & Tree Optimization for React App Performance
React's Virtual DOM is already fast, but you can help it out with a few smart practices:
Use Unique and Stable Keys
Keys help React keep track of elements in a list. Always use unique, stable values, not array indexes.
Flatten Deep Component Trees
Deeply nested components can slow things down. Flatten your component structure when you can.
Smaller, flatter trees are easier for React to process and easier for you to manage, too.
Smart State Management for React App Performance
Poor state management can seriously slow down your app, like trying to organise a library where books randomly change their titles and authors. Pretty messy, huh?
Context API Pitfalls
React's Context API is great for sharing state across your app, but if you're not careful, it can lead to unnecessary re-renders.
Here's what not to do:
Instead, split your context by concern so only the parts of the app that care about a specific piece of state will update when it changes:
This keeps re-renders isolated and your app more efficient.
Consider a State Management Library
As your app grows, managing state with just React might become tricky. For more control and better performance, try state management libraries that come with optimization tools out of the box:
- Redux (with Reselect for memoised selectors)
- Zustand – Simple, minimal, and great for local or global state
- Jotai – Atomic, flexible, and fast
These libraries help you manage state cleanly and avoid unnecessary re-renders, even in large apps.
Lazy Loading: Boosting React App Performance
Lazy loading helps you deliver only what's needed, when it's needed, improving performance and user experience
Code:-
When Should You Use Lazy Loading?
Lazy loading is a strategic way to prioritize what the browser processes first. In 2026, with higher user expectations for Interaction to Next Paint (INP), knowing exactly when to defer loading is key.
Here are the most effective situations where lazy loading makes a difference:
Images Below the Fold:
Don't waste bandwidth on high-resolution assets that the user hasn't scrolled to yet. Native browser support with loading="lazy" combined with React's state management ensures a smooth visual transition.
Heavy Third-Party Widgets:
Components like Google Maps, complex charts (Recharts/D3), or comment sections (Disqus) often come with massive JavaScript footprints. Loading them only on demand can save hundreds of kilobytes in your initial bundle.
Complex or Rarely Used Forms:
Advanced forms with conditional logic, file uploaders, or rich-text editors shouldn't block the initial render. Load the basic structure first and bring in the "heavy" logic as the user starts interacting.
Modals and Sliders:
Since these elements are hidden by default, there is no need to include their code in the main bundle. Dynamic imports allow you to fetch the modal's code only when the "Open" button is clicked.
Analytics and Tracking Scripts:
Non-essential tracking pixels or heat-mapping tools (like Hotjar) can be lazy-loaded after the primary UI is interactive to ensure they don't compete for main-thread resources.
Infinite Scroll Lists:
Instead of rendering a thousand items, lazy-load "chunks" of data and components as the user nears the bottom of the page, keeping the DOM light and the memory usage low.
Internationalization (i18n) Locales:
If your app supports multiple languages, lazy-load only the specific JSON translation file for the user’s selected language rather than bundling all languages together.
Hire React.js Developers Today!
Monitoring and Tools for React App Performance
You can't fix what you can't see. In 2026, performance measurement has evolved from simple load-time tracking to deep, real-user behavioral analysis. Here are the essential tools to keep your React app in the green:
Core Performance Suite
- React DevTools Profiler: Included in the Chrome/Firefox extension, this allows you to record interactions to see which components are rendering, how long each one takes, and exactly what triggered the update (e.g., a specific hook or prop change).
- Lighthouse (by Google): Found in the "Lighthouse" tab of Chrome DevTools, it provides a detailed audit of First Contentful Paint (FCP), Cumulative Layout Shift (CLS), and the now-critical Interaction to Next Paint (INP).
- React. Profiler API: Wrap specific parts of your code in the <Profiler> component to programmatically collect timing data and send it to your own monitoring backend for custom analysis.
Code:-
Real-World Case Study: React App Performance Transformation
We recently optimized a complex dashboard packed with real-time data for a fintech client. By early 2026, the application had grown so large that the main thread was constantly "janked" (frozen), leading to a frustrating user experience. Here is the step-by-step breakdown of how we transformed it using the latest React 19 standards:
Implemented the React Compiler:
We moved to the stable 2026 release of the compiler. This allowed us to strip out hundreds of lines of manual useMemo and useCallback boilerplate, reducing unnecessary re-renders by 70% without manual intervention. By transforming components into highly efficient JavaScript at build-time, the compiler ensured that fine-grained updates only affected the specific UI nodes tied to changing data, drastically reducing the overhead of the Virtual DOM.
Route-based Code Splitting:
By splitting the massive admin and analytics sections into separate chunks, we cut the initial bundle size by 45%. Users now only download the code for the specific view they are currently accessing. We implemented this using React.lazy() paired with React 19’s enhanced Suspense, which allows for smarter streaming. This means the browser spends less time parsing and compiling large JavaScript files, leading to a much faster Time to Interactive (TTI).
Virtualized Long Lists:
We replaced standard .map() rendering with react-window for tables containing over 10,000 rows. This brought the data table rendering time down from 1.2s to 200ms. By only rendering the rows visible in the user's viewport (plus a small buffer), we significantly reduced the DOM node count. In 2026, this is paired with Concurrent Rendering, ensuring that even fast scrolling doesn't block the main thread or cause visual white flashes.
Server Components (RSC):
We moved heavy data-fetching and initial-state logic to the server. This reduced the client-side JavaScript footprint and allowed the dashboard to achieve a First Contentful Paint (FCP) in under 0.8s. Because RSC allows for direct database access and removes the need for expensive client-side useEffect waterfalls, the browser receives a pre-rendered UI "shell" with data already injected, completely bypassing the traditional "loading spinner" phase for static dashboard elements.
Wrapping Up: Keeping React App Performance Top of Mind
Performance tuning in React isn't something you do once; it's more like brushing your teeth. By understanding how React renders and applying modern strategies like the React Compiler and Server Components, you can build apps that feel fast and responsive.
One final tip: the best performance fix is the one you never need. A solid architecture from the start saves you tons of time down the road.
Conclusion
In 2026, React App Performance has evolved from manual tuning to an automated, compiler-first, and server-centric architecture. With React 19, the React Compiler now handles memoization automatically, while Server Components (RSC) and Streaming drastically reduce client-side JavaScript, ensuring sub-second load times even on budget devices. To navigate these complex architectural shifts and implement these optimizations effectively, many industry leaders choose to Hire React.js developers who specialize in modern concurrent rendering and server-side integration.
Beyond loading speed, the focus has shifted to "perceived" performance via Interaction to Next Paint (INP). By leveraging Concurrent Features like useTransition, Atomic State, and the new Activity API, modern React apps maintain fluid interactivity. This combination of automated optimization and intelligent resource management allows web applications to finally match the seamless responsiveness of native desktop software.
Ready to scale your application with world-class engineering? Partner with our expert team to build high-speed, future-proof digital solutions. Visit the Zignuts Technolab Contact Us page today to start your performance optimization journey.

Pruthvi Darji
A problem solver with a passion for building robust, scalable web solutions that push the boundaries of technology and deliver impactful results

Tejas Patel
Passionate about building scalable solutions, exploring innovative technologies, and delivering meaningful user experiences across platforms.